
-
By:
- elizabeth
- No comment
flipper tv remote manual
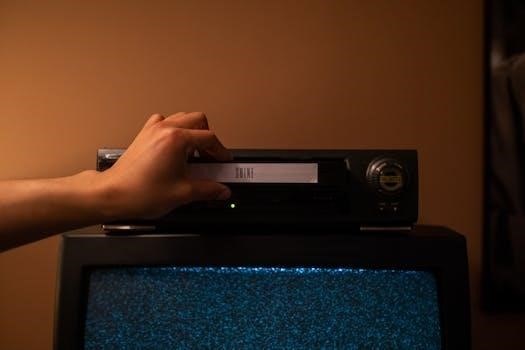
Flipper TV Remote Manual⁚ A Comprehensive Guide
This comprehensive guide will walk you through every step of setting up and using your Flipper TV remote. Whether you’re looking to control your TV, STB, or both, this manual provides clear instructions and troubleshooting tips.

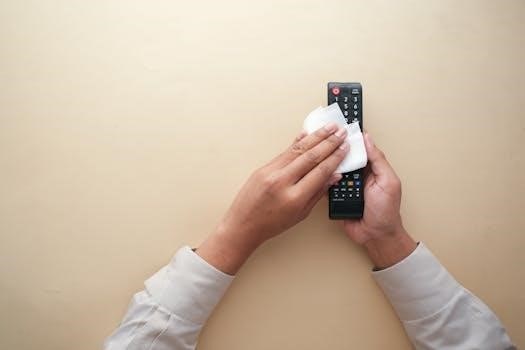
The Flipper remote is designed for simplicity and ease of use, offering a streamlined solution for controlling your television and set-top box (STB). Unlike traditional remotes with numerous buttons, the Flipper focuses on essential functions, making it ideal for users who prefer a straightforward experience. The Flipper remote is pre-programmed with codes for many TVs and STBs, reducing the need for complex setup procedures. The Flipper remote can be configured to control your TV only, STB only, or both simultaneously.
This manual provides a comprehensive guide to setting up your Flipper remote. We’ll cover programming methods, troubleshooting common issues, and utilizing advanced features like favorite channels. Every Flipper setup begins with programming the remote to control your TV. Please do not attempt to program your STB until the Flipper has been successfully programmed to your TV. With its intuitive design and versatile functionality, the Flipper remote simplifies your entertainment experience.
Basic Setup⁚ TV and STB
The initial setup of your Flipper remote involves configuring it to control your TV and, optionally, your STB (cable or satellite box). Flipper is preset to work with many TVs and STBs right out of the box. The first step is to test if your Flipper is already compatible with your devices. Start by pointing the Flipper at your TV and pressing the ‘TV’ button, then test the power and volume functions. If these work, proceed to setting up your STB.
For STB setup, point the Flipper at your STB and press the ‘STB’ button. Test channel changing and power functions. If your STB responds, your basic setup is complete! If either the TV or STB doesn’t respond, you’ll need to program the Flipper using the code entry method. This involves locating the correct code for your TV and STB brands from the provided code list. It’s crucial to set up the TV first before proceeding to the STB configuration.
Programming Method A⁚ Code Entry
Code entry is the preferred method for programming your Flipper remote. This method involves manually entering a specific code associated with your TV or STB brand. First, locate the three or four-digit code for your TV or STB brand in the code list provided in this manual or on the Flipper website. Ensure you are setting up the TV before attempting to program the STB.
To begin, press and hold the corresponding ‘TV’ or ‘STB’ button on the Flipper until the indicator light turns solid. Once the light is solid, enter the four-digit code using the number buttons. After entering the code, test the remote by pressing the power and volume (for TV) or channel (for STB) buttons. If the device responds correctly, the programming is successful. If not, try the next code listed for your brand and repeat the process. If none of the codes work, proceed to alternative programming methods.
Setting Up the TV

To begin setting up your Flipper remote for your TV, ensure the Flipper is within direct line of sight of the television. First, attempt to test the preset settings. Press and release the ‘TV’ button on the Flipper; the light should blink once. Then, test the power and volume buttons to see if they control your TV. If the TV responds, you’re set!
If the preset settings don’t work, you’ll need to program the Flipper using the code entry method. Locate the three or four-digit code for your TV brand from the provided list. Press and hold the ‘TV’ button until the indicator light turns solid. Enter the code, then test the power and volume buttons again. If it still doesn’t work, try all listed codes for your brand. If none of the codes work, see the troubleshooting section for additional assistance. For a TV-only setup (without an STB), press and hold the TV button until solid, then enter ‘970’.
Setting Up the STB (Cable or Satellite Box)
After successfully programming your Flipper remote to control your TV, you can proceed with setting up the STB (Cable or Satellite Box). First, ensure that the Flipper remote is pointing directly at the STB. Press and release the ‘STB’ button on the Flipper; the indicator light should blink once. Test the channel buttons to see if the STB responds and changes channels. If it does, your STB setup is complete!
If the STB does not respond to the preset settings, you’ll need to program it manually using the code entry method. Locate the appropriate code for your STB brand from the code list. Press and hold the ‘STB’ button on the Flipper until the indicator light turns solid. Enter the code, then test the power and channel buttons to see if they now control the STB. If the STB still doesn’t respond, try each listed code for your brand. If none of the codes work, consult the troubleshooting section for further assistance.
Flipper as an IR Remote
The Flipper remote operates using Infrared (IR) technology, requiring a clear, unobstructed line of sight between the remote and the device being controlled. Unlike Radio Frequency (RF) remotes, the Flipper cannot control devices hidden behind objects or in enclosed spaces. Ensure that there are no obstacles blocking the path between the Flipper and your TV or STB.
Some set-top boxes, such as Xfinity and Dish, may be configured to use RF by default. In such cases, you will need to activate the IR functionality within the settings of your set-top box. Consult your box’s manual or online FAQs for instructions on enabling IR control. Once IR is enabled, the Flipper should be able to communicate with your device. Remember, maintaining a direct line of sight is crucial for reliable performance. If you continue to experience issues, try repositioning the Flipper or the device you are trying to control.
Setting Up Favorite Channels
Once your Flipper remote is successfully configured to control your TV and/or STB, you can personalize your viewing experience by setting up a list of favorite channels. This feature allows for quick and easy access to the channels you watch most often, eliminating the need to manually enter channel numbers each time.
Before programming your favorite channels into the Flipper, create a list of the channels you wish to save. To set up the favorites on your Flipper remote, press and hold both the “TV” and “ADD” buttons simultaneously until the indicator light turns solid. Then, enter the channel number followed by the “ADD” button for each channel you want to save (e.g., 123-ADD; 456-ADD). Repeat this process for all your desired channels. Finally, press the “TV” button to exit the setup mode. To test your new favorite channels, simply use the channel up/down buttons.
TV Only Configuration
The Flipper remote is designed to control both your TV and STB (cable or satellite box) simultaneously, but sometimes you might only want it to control your TV. This is particularly useful if you primarily stream content or use your TV’s built-in smart features. Configuring the Flipper for TV-only mode disables the STB functionality, ensuring that the power and volume controls only affect your television.
To set up the Flipper for TV-only operation, press and hold the “ADD” button until the indicator light turns solid. Then, enter the code “999”. This will configure the Flipper to only control the TV functions. Alternatively, you can press and hold the “TV” button until the light turns solid, then enter “970”. This achieves the same result, ensuring that the Flipper only turns the TV on and off, and the volume controls are directed to the TV.
Dual Mode Functionality
The Flipper remote boasts a dual-mode functionality, allowing it to control both your television and set-top box (STB) seamlessly. This means that the remote can handle power, volume, and channel navigation for both devices, streamlining your entertainment experience. By default, the Flipper is often preset to this dual mode, simplifying initial setup.
In dual mode, the “On/Off” button typically controls both the TV and STB, turning them on or off simultaneously. The “Volume” buttons are usually configured to control the TV’s volume, while the “Channel” buttons manage channel selection on the STB. This setup is designed for convenience, allowing you to manage your entire viewing experience with a single remote. However, you can customize this functionality if you prefer independent control over each device. The Flipper offers the flexibility to tailor its operation to your specific needs, ensuring a user-friendly and personalized experience.
Troubleshooting Common Issues
Encountering issues with your Flipper remote? Don’t worry, many common problems have simple solutions. First, ensure the remote has a clear line of sight to your TV and STB, as it operates via IR (infrared) signals. Obstructions can interfere with the signal. If buttons aren’t responding, check the batteries and replace them if necessary.
If the remote isn’t controlling your devices after setup, double-check that you’ve entered the correct codes for your TV and STB models. Refer to the code list in this manual and try re-entering the codes. For STBs, ensure IR is activated in the box settings, as some may default to RF (radio frequency). If the “On/Off” button isn’t working as expected, you might have inadvertently set the remote to TV-only mode. Consult the section on configuring dual mode functionality. If favorite channels aren’t saving correctly, ensure you’re following the correct sequence for adding channels.
Additional Resources and Support
If you’re still experiencing difficulties with your Flipper TV remote, don’t hesitate to seek additional assistance. The manufacturer’s website offers a comprehensive FAQ section addressing many common questions and issues. You can also find helpful articles and video tutorials that provide step-by-step guidance on various setup and troubleshooting procedures;
For more personalized support, consider contacting the customer support team directly. They can provide tailored assistance based on your specific situation. When contacting support, be sure to have your TV and STB models readily available, as this will help them diagnose the problem more effectively. Online forums and communities dedicated to the Flipper remote can also be valuable resources; Other users may have encountered similar issues and can offer helpful tips and solutions based on their own experiences. Remember to check the official Flipper website, as they continuously update their resources.